Hello! This post born because of the best of the reasons, an old friend and follower of the blog asked me some suggestions for solving an issue he was facing with Revit's KeySchedule.
- Ciao Andre!!! -
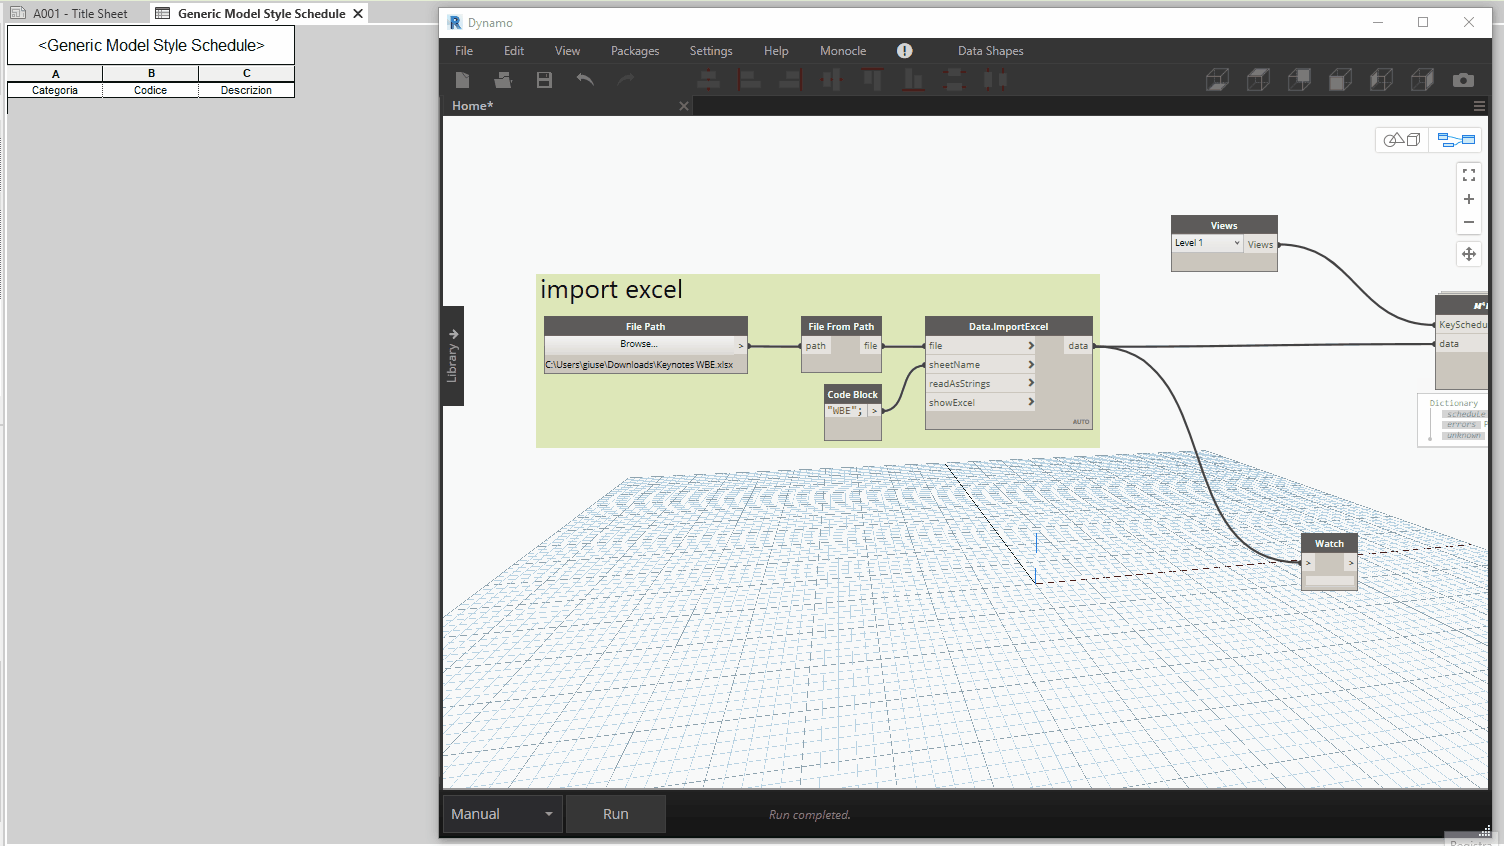
Request very clear: How can I import a whole Excel table in a KeySchedule?
For doing so I know he would have had to
- create new elements (aka "row", when you work with the KeySchedule)
- setting parameters accordingly
... And what if the table you want to import is very long? How much time you can spend on it?
... And what if the table keeps on changing in Excel?
... And what if his Google research didn't give him very much joy? 😂
... Deal, I managed a couple of nodes to help him and all the other colleagues with such an issue.
Just creating the nodes I think isn't enough because, especially the node for importing data into the KeySchedule, works in a way that might be not intuitive for someone at first.
Revit.𝑀⁴𝐵 Views.KeySchedule
The first node I'll introduce you is named 𝑀⁴𝐵 Views.KeySchedule, and yes, it is the first of the new sub-class Views ! As you can see from the snip below, the node expects two inputs.
One is, of course, the KeySchedule View to edit and the other, data, is actually the place where you have to specify the table you want to create, including its header*!
*Where for header I mean the first sub-list.
Logically speaking, this node act in a simple way:
Delete all the elements in the given KeySchedule. An important step that grants you to avoid duplicated or unnecessary rows.
Create one row for each sub-list of the input data. Without considering the sub-list of the header, of course
Read from the header all the parameters' names and, in case they exist in the key elements, set them accordingly and in the same order.
Revit.𝑀⁴𝐵 Views.KeyElements
The second node, but not less important, is 𝑀⁴𝐵 Views.KeyElements. This is easier to understand since accepts as input just a KeySchedule View and returns to you all the elements in it (aka rows).
With this element, you can do whatever you what, extract and/or set parameters, delete, edit...
Here a .gif to demonstrate to you the nodes in action. As you will see, I spelled wrongly on purpose one of the parameters' names. This way I showed you that the unknown parameters are collected in the output and if you run again the script, a brand new and correct schedule will be created.
Final info about these nodes, the cherry on the cake as I would say in Italy, in case the given view is not a KeySchedule, the node will recognize it and, like a real gentleman, tell you:
"PLEASE, SELECT A KEYSCHEDULE"
I hope this post was of any help. 😁
Let me know what are your thoughts on the topic.
Cheers!